
Uncategorised
- Details
- Written by: Gordon
- Category: Uncategorised
- Hits: 13
I have revisited the exhaust system joints, each joint dismantled and exhaust sealing compound applied.
Now that I have formed the rear grill with holes for the exhaust tailpipes, I need to fix the position of the tailpipes in the exact same place.
The position of the tailpipes is heavily controlled by the position of the mufflers.
To reference the locations in free space I cut some foam rubber strips to size, and wedge into various positions to hold the mufflers at their required places in space. Each strip has an identifying mark - don't want to mix up similar size ones from right and left.
Not shown in the photos, but I did place Sharpie marks on the stainless steel inside of the tailpipes at the top to identify rotational orientation.


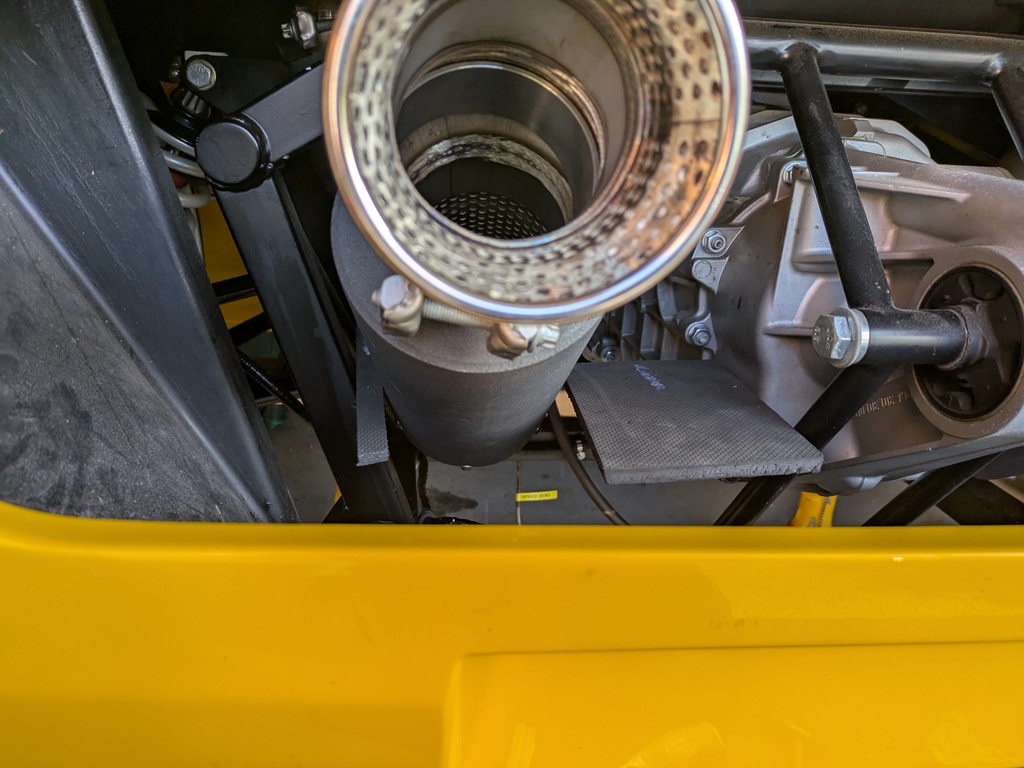


With the mufflers relocated to their original positions, I can use the tailpipe Sharpie marks to relocate the tailpipes in the same rotational plane. This just leaves he tailpipes to be aligned by moving up/down and side to side.
- Details
- Written by: Gordon
- Category: Uncategorised
- Hits: 16
Once I am finally happy as I can be with windscreen fitting location, I use the fine line masking tape to identify a border on the inside for the glass primer. I also mask the outside of the screen to try and ease the sealant application.

I apply some masking tape around the dash board edging. The windscreen rebate is then primed with the paint primer.
Then the 'generous' beading of sealant is applied.


I position the screen in place, press down into position and then apply some more sealant.
The sealant is smoothed with latex gloves and some Wurth Sealing Smoothing Agent (it feels and appears not much more than diluted down washing up liquid).

Once the joint is smooth I remove the masking tape.
Any blemishes than need tidying I use latex gloves wetted with brake cleaner.

